
Ori and the Will of the Wisps spider boss: Mora Fight Guide
Beat the Ori and the Will of the Wisps spider boss with a Mora guide on Normal covering attack cues, the escape sequence, healing, and darkness.
Jump to
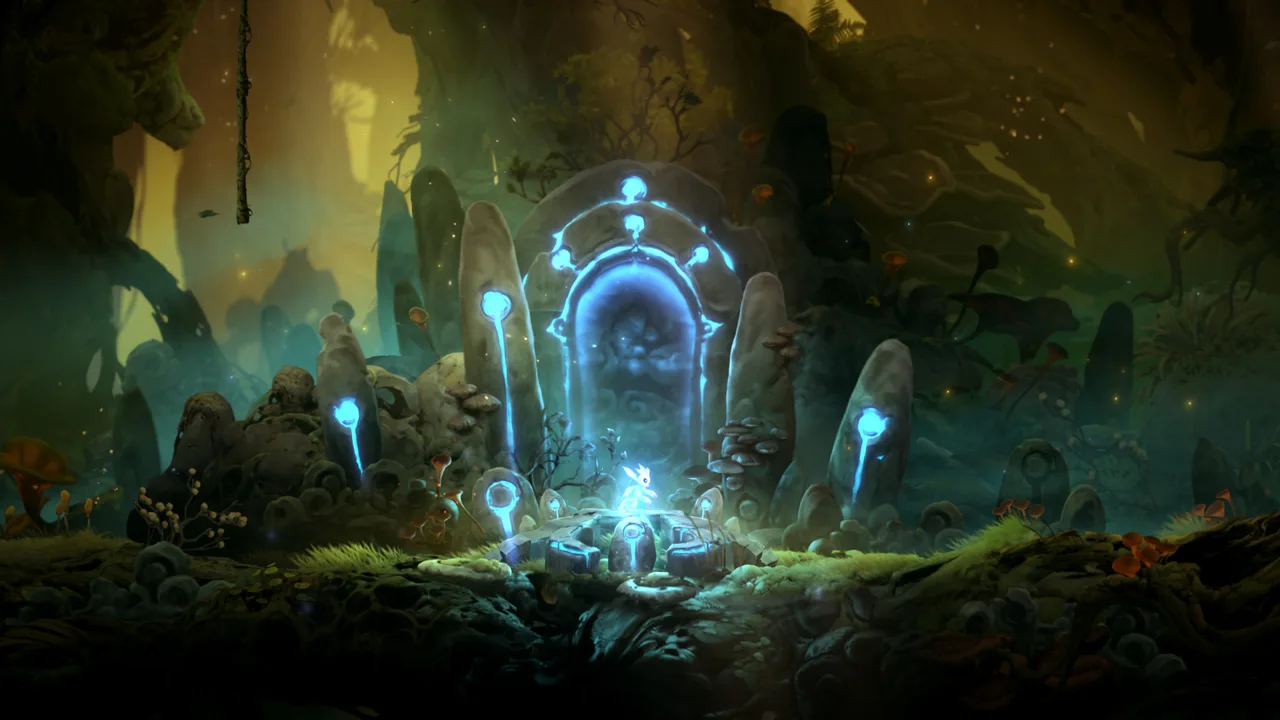
Meet Mora and Understand the Fight
The Ori and the Will of the Wisps spider boss turns a close-range battle into a frantic escape, then forces you to fight through darkness. Beating Mora matters because, in the supplied player experience, her defeat removes the damaging darkness from the surrounding region and makes exploration easier. This Ori and the Will of the Wisps spider boss guide explains how to read her attacks, handle the chase, and preserve enough energy for the closing stretch.
The gameplay evidence comes from SweetJohnnyCage’s player video guide to defeating Mora. Its observations are player experience on Normal difficulty, including the checkpoints described below. The creator explicitly leaves checkpoint behavior on Hard unconfirmed.
For general game information, visit the official Ori website. The combat details here come from the player video, rather than an official walkthrough.
The Encounter’s Main Transitions
The player experience divides Mora’s encounter into two combat sections separated by an escape. Changes within those combat sections introduce additional attacks and, eventually, darkness.
| Encounter point | What the player video reports | What to prepare for |
|---|---|---|
| Opening combat | Pincer attacks, slams, and a charge followed by a jump | Watch the front legs and leave room to retreat |
| After roughly 25% of her health is removed | Mora breaks the right wall and gains additional attacks | Expect sprays, projectiles, and spiderlings |
| Around 50% health remaining | Combat gives way to an escape sequence | Shift attention from damage to traversal |
| After the escape | Fighting resumes in a larger arena without the earlier cover | Use the available Bash points to reposition |
| Around 25% health remaining | The room becomes dark | Keep your light active and replenish energy |
Treat these health thresholds as observations from the recorded attempt. The useful takeaway is the order: opening combat, expanded attack set, escape, larger arena, then darkness.
A good approach to the Ori and the Will of the Wisps spider boss is to learn each transition separately. Once the next section begins, focus on its immediate hazards instead of mentally replaying the entire encounter.
Prepare Your Movement, Healing, and Light
The player experience emphasizes mobility and recovery more than a particular offensive setup. The creator recommends Triple Jump if you have it, uses Regenerate to recover health, and relies on the light ability during the dark portion.
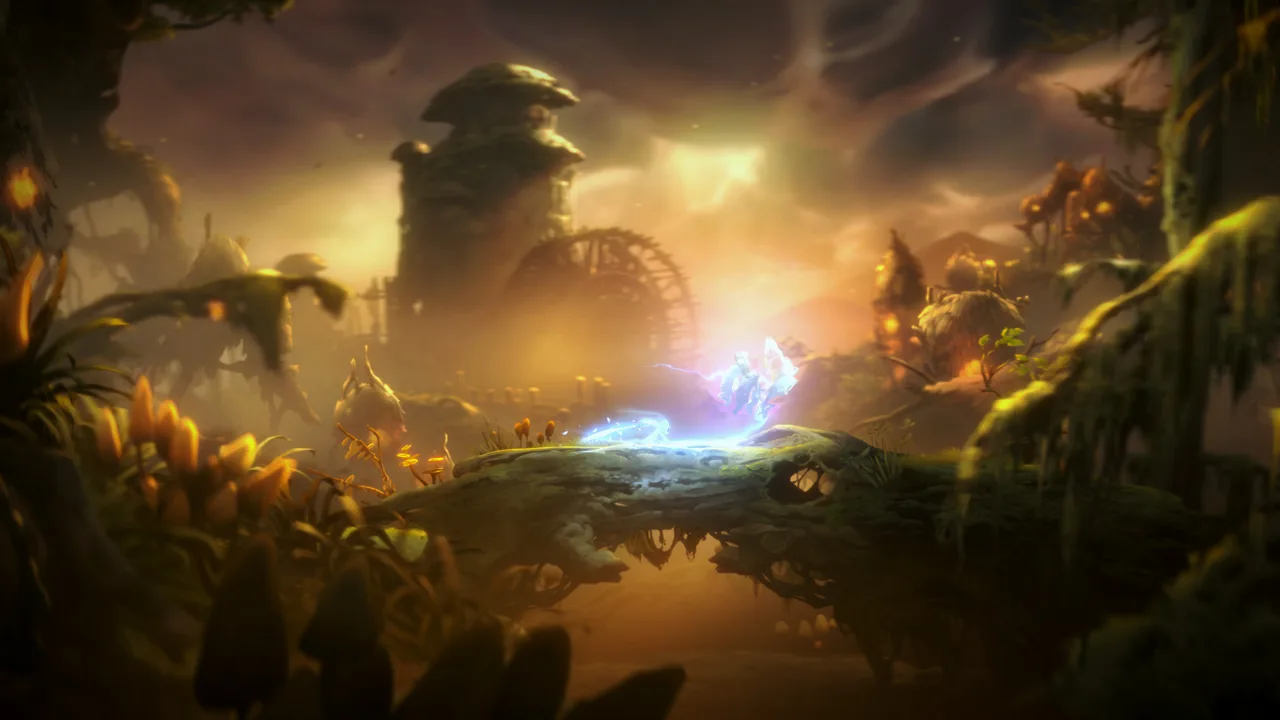 Image: Steam / Moon Studios GmbH
The same recording reports a replenishing energy crystal, making repeated recovery possible when Ori can reach it. That does not make energy management automatic: healing and light still require attention during a crowded fight.
| Ability or resource | Reported use in the player experience | Practical tip |
|---|---|---|
| Double Jump | Clears ground-level attacks and fire waves | Wait for the attack cue before committing to a jump |
| Triple Jump, if available | Gives additional movement flexibility | Use the extra height to extend your escape route |
| Bash | Uses airborne projectiles and arena points for movement | Look for a usable target before becoming trapped |
| Grapple | Connects traversal points during the escape | Identify the next point as you approach it |
| Regenerate, if available | Restores health during combat | Heal during a manageable opening |
| Light ability | Prevents darkness from consuming Ori | Preserve access to energy in the final stretch |
| Replenishing energy crystal | Supplies more energy during the fight | Refill before healing leaves your reserve too low |
You do not need to copy the player’s exact rhythm. A good approach is to enter each exchange with a clear exit: a retreat direction, a wall, or an airborne Bash target.
The Ori and the Will of the Wisps spider boss can become difficult to read when attacks overlap with spiderlings. Give movement priority when the screen gets crowded. Staying in position for another hit is less useful if it leaves you unable to dodge the next attack.
Separate Recovery From Emergency Escape
The video’s player experience shows Regenerate supporting repeated healing. However, the creator also warns against spending so much energy that the light expires during darkness.
A useful recovery sequence is:
- Move out of the immediate attack path.
- Restore health when the opening allows it.
- Replenish energy before returning to sustained combat.
- Check your light once darkness is active.
This is especially relevant near the end. Health recovery helps only if you can also maintain protection against the environmental hazard.
Read Mora’s Attacks in the First Arena
In the opening player experience, Mora commonly begins with a double pincer slam. She can follow it with a slash, so the end of the slam is not automatically a safe opening.
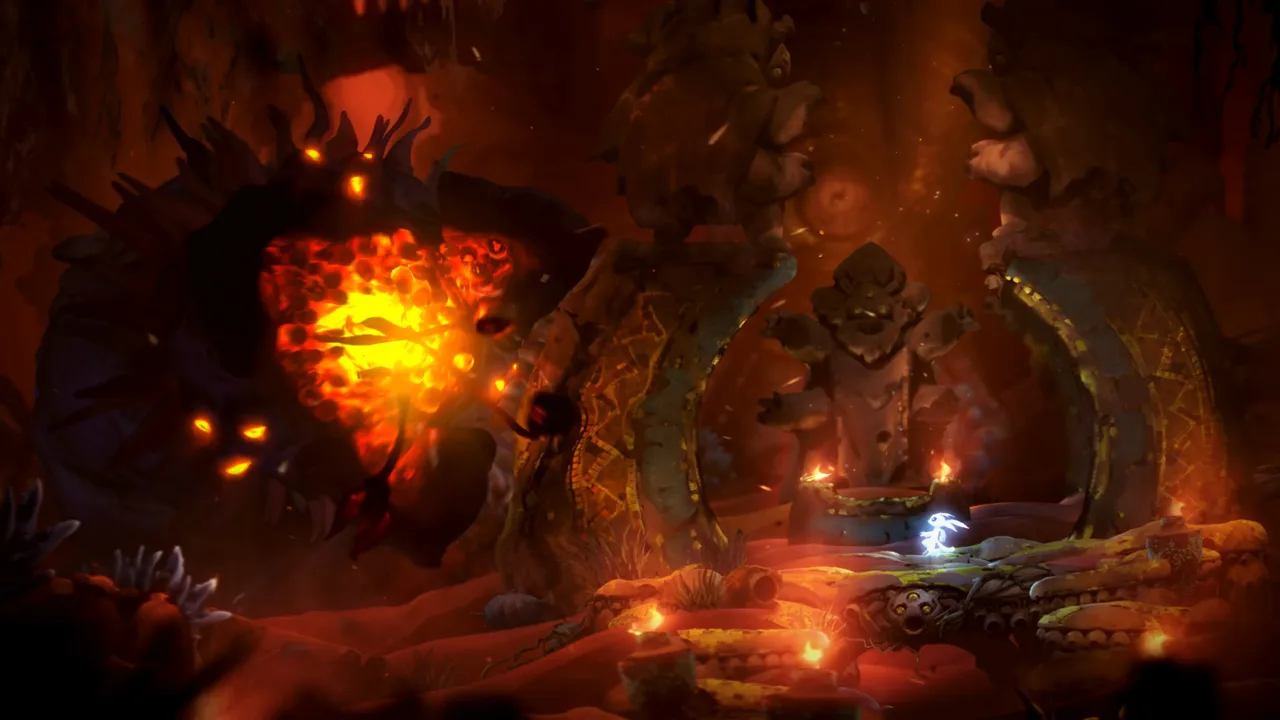 Image: Steam / Moon Studios GmbH
Watch for a front leg pulling back. The video identifies that motion as a warning to move away in the opposite direction. A good approach is to finish your current attack and retreat as soon as the windup becomes clear.
The recorded fight also distinguishes a side-facing pincer attack from a front-facing slam that sends fire along the ground. Mora later repeats that fire-producing attack, making it important to recognize the animation early.
| Attack or cue | What the player experience describes | Suggested response |
|---|---|---|
| Double pincer slam | An opening attack that may lead into a slash | Leave room for a follow-up before moving back in |
| Front leg drawing back | A warning for a pincer slash | Retreat away from the attacking side |
| Front-facing slam | Fire travels along the ground | Jump over the wave and watch for another slam |
| Charge followed by a jump | Mora advances, then jumps over Ori | Create distance and track where she lands |
| Elevated spray | Mora rises on a web and sprays in an arc | Use the right-side cover when accessible |
| Low spray | A spray travels near floor level | Use repeated jumps and move toward a wall |
| Airborne spit projectiles | The player can Bash them while airborne | Meet them in the air if your positioning allows it |
The player experience suggests that Ori has more freedom to move around Mora’s body than her size initially implies. Still, the creator is uncertain about some contact hitboxes. Avoid assuming every part of her body is safe; concentrate on escaping the visible pincers and incoming attacks.
For the Ori and the Will of the Wisps spider boss, a good attack rhythm is to approach her head during an opening, land damage, and leave before the next windup closes your route.
Handle the Added Sprays and Spiderlings
After Mora breaks the right wall, the player experience shows her adding sprays and summoning small spiders. She retains her earlier moves, so watch for familiar attacks between the new ones.
The video demonstrates using an obstacle on the right side as shelter from an elevated spray. If you can reach that cover safely, a good approach is to position near it before the spray begins.
Spiderlings create both pressure and recovery opportunities. The creator reports obtaining health by defeating them. Clearing nearby spiderlings can therefore help when they are obstructing your movement, but do not chase one into Mora’s next attack.
The airborne spit offers another option. According to the player experience, it can be Bashed while Ori is in the air; the creator specifically cautions against trying to Bash it from the floor.
Survive the Escape and Use the Reported Checkpoints
At approximately half health, the player experience shows Mora’s fight switching to an escape sequence. Your immediate objective changes from dealing damage to following the traversal route.
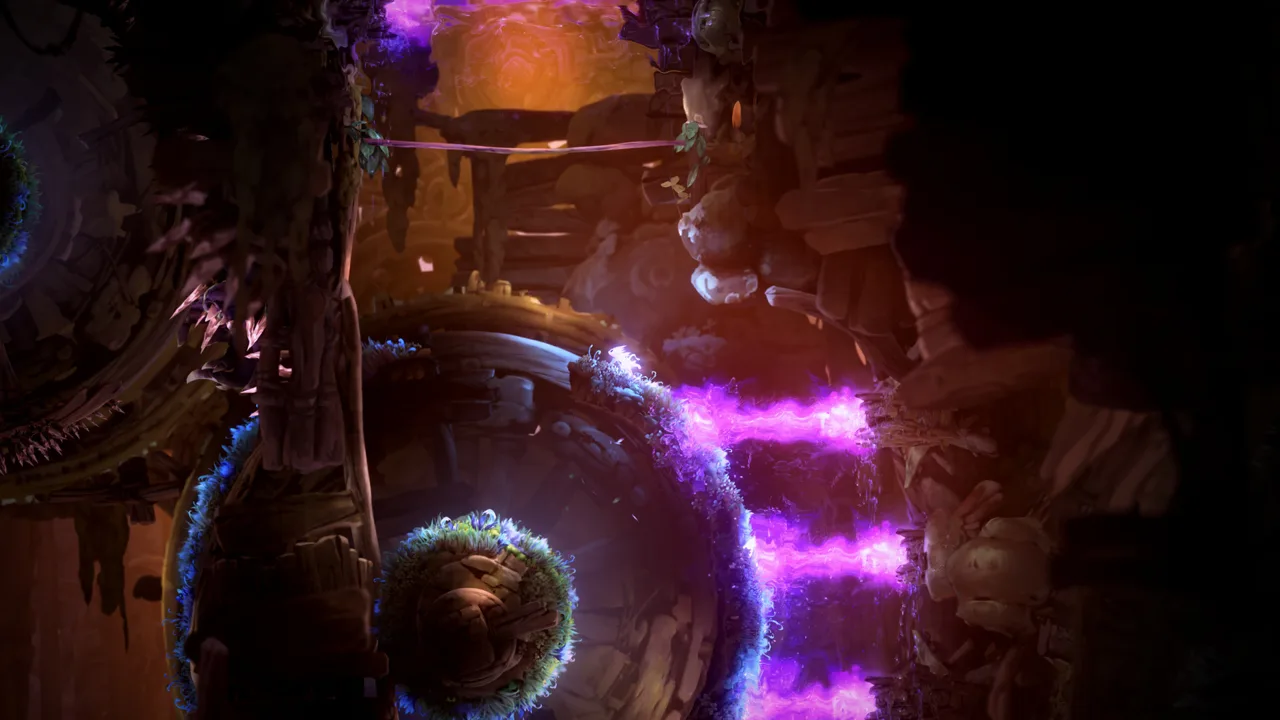 Image: Steam / Moon Studios GmbH
The recorded sequence uses Bash to move upward, passes through a log, and then uses Grapple points to continue. Reaching the next combat arena ends the escape.
A good approach is to look ahead for the next movement target. Keep your attention on where Ori needs to go rather than watching Mora behind you.
Follow the Demonstrated Traversal Pattern
The player video supports this broad sequence:
- Bash upward when the escape begins.
- Continue through the log on the route.
- Grapple between the available points.
- Reach the landing area where combat resumes.
Avoid adding an attack routine to this section. The demonstrated solution is movement through the route, and reliable traversal is the immediate priority.
For the Ori and the Will of the Wisps spider boss, the reported Normal-difficulty checkpoints make these transitions particularly useful milestones. The creator reports a checkpoint when the escape starts and another upon reaching the following arena.
Those checkpoint observations apply to the recorded Normal playthrough. The source does not establish whether Hard behaves identically.
If an attempt fails, a good approach is to isolate the missed movement: the upward Bash, the passage through the log, or a Grapple connection. That gives the next attempt a specific adjustment instead of turning it into another unfocused rush.
Manage the Larger Arena and Final Darkness
After the escape, the player experience shows a larger arena with more room for Mora to move. The earlier cover is gone, but Bash points offer repositioning options.
The creator describes Mora as more aggressive here and reports a repeated slam that produces three fire waves. After clearing the opening wave, continue watching her animation rather than immediately returning to attack.
The Ori and the Will of the Wisps spider boss also produces spit projectiles that the player reports redirecting with Bash for damage. A good approach is to use that opportunity when the projectile is reachable without crossing another hazard.
| Final-arena situation | What the player experience reports | Practical response |
|---|---|---|
| No earlier cover | The larger arena lacks the previous shelter | Plan movement around the available Bash points |
| Repeated fire-producing slam | Mora can send three waves in succession | Keep dodging until the sequence finishes |
| Incoming spit | Bash can redirect it toward Mora | Attempt the return when your aerial position allows it |
| Darkness near 25% health | Ori needs the light ability to survive | Activate light and monitor energy |
| Low health during darkness | Regenerate can restore health | Preserve enough energy to sustain light afterward |
| Spiderlings nearby | Defeating them can provide health | Clear those interfering with your movement |
Keep Light and Energy Connected
The closing player experience revolves around maintaining light while fighting. The creator also reports that the active light deals continuous damage and recommends leaving it on, supported by the replenishing energy crystal.
A good approach is to make energy collection part of your movement loop. Avoid waiting until the reserve is nearly empty, especially if you also need Regenerate.
The final stretch can obscure attack cues, according to the player experience. Return to a simple priority order: maintain light, evade the incoming attack, recover when possible, then deal damage.
Do not abandon that order when Mora is nearly defeated. The creator describes a failed attempt close to victory, illustrating why a final attack still needs a safe approach.
After the win, the player reports that the damaging darkness disappears from the surrounding region, while darkness elsewhere in the game remains. That makes returning to explore a practical next step.
FAQ
What is the Ori and the Will of the Wisps spider boss called?
The spider boss is Mora. The supplied player video covers her opening combat section, an escape sequence, and a second combat section that eventually becomes dark.
Does Mora’s fight have checkpoints?
In the supplied player experience on Normal difficulty, checkpoints occur when the escape begins and when Ori reaches the next combat arena. The creator does not confirm checkpoint behavior on Hard.
How do you survive the darkness during Mora’s fight?
The player experience shows the light ability protecting Ori during the dark portion. A good approach is to replenish energy regularly and avoid spending your remaining reserve on healing while light is needed.
Can you use Bash against Mora’s projectiles?
Yes, according to the player experience. The creator demonstrates Bashing airborne spit and reports redirecting projectiles toward Mora for damage. Position Ori in the air; the guide cautions against attempting the same interaction from the floor.
Continue with
 Ori and the Will of the Wisps wolf boss: Howl and Torch TipsLearn how to escape Howl in Inkwater Marsh, dodge his claw and bite attacks, and use the burning stick to drive the wolf boss away in the torch fight.
More in Bosses

Ori and the Will of the Wisps bosses: Combat and Escapes
Learn how to approach Ori and the Will of the Wisps bosses, recognize attack openings, handle escapes, and survive Shriek’s airborne finale.

Ori and the Will of the Wisps final boss: Shriek Phase Guide
Beat Shriek across three phases with a phase-by-phase guide to attack cues, the escape sequence, tracking projectiles, and the final airborne battle.

Ori and the Will of the Wisps Kwolok fight: Water Phase Tips
Learn how to survive Kwolok’s chase, read his attacks, redirect projectiles, and handle the water phase with strategies from player experience.
Join the community
Official channels for news, updates and player help: