
Ori and the Will of the Wisps final boss: Shriek Phase Guide
Beat Shriek across three phases with a phase-by-phase guide to attack cues, the escape sequence, tracking projectiles, and the final airborne battle.
Jump to

Shriek’s Fight Is About Reading the Arena
The Ori and the Will of the Wisps final boss becomes a battle for survival when Shriek takes away the ground beneath you. Understanding her attack cues matters because the fight changes from grounded dodging to an airborne finish built around Bash. This Ori and the Will of the Wisps final boss guide explains those transitions so you can recognize danger, find openings, and keep moving when the arena collapses.
Shriek’s encounter has three phases. Several attacks carry over between them, but the changing environment alters how you respond. Learning an attack’s warning is useful throughout the battle; learning where you can safely move becomes increasingly important as the floor disappears.
IGN’s Shriek boss fight walkthrough provides the encounter details behind this guide. The recommendations below follow those documented mechanics.
| Fight segment | What changes | Suggested focus |
|---|---|---|
| Phase one | Shriek fights over solid ground | Recognize warnings and attack her head during openings |
| Escape transition | The fight shifts into a route heading right | Keep moving, jump, launch, and burrow through sand |
| Phase two | Additional attacks appear and the ground begins crumbling | Watch projectile behavior and preserve room to dodge |
| Phase three | The ground is gone | Chain Bash off falling projectiles and attack when positioned safely |
A good approach is to treat each segment as a movement problem before treating it as a damage race.
Phase One: Recognize Shriek’s Five Attacks
The opening phase of the Ori and the Will of the Wisps final boss introduces five attacks. They threaten different parts of the arena, so one repeated dodge will not cover everything.
 Image: YouTube / Lara Loft
Watch Shriek’s movement, then check where the warning appears. A gust rising from the floor means something different from a gust entering at the edge of the screen.
| Attack | Warning or behavior | Response |
|---|---|---|
| Leg slams | Shriek strikes the ground with each leg; spikes spread outward | Dash clear of her legs, then jump over the spikes |
| Full-body slam | Shriek flies away; a gust rises at her landing location | Move away from the gust, then look for a head attack |
| Flying dash | A large gust appears at the left or right edge | Launch upward to avoid the incoming pass |
| Screech | Shriek stands nearby and releases a damaging shriek | Weigh the head-attack opening against your remaining life |
| Projectile attack | Shriek rises slightly and fires downward | Bash projectiles toward her head or dodge them |
Separate the leg slam from the spreading spikes
The leg attack creates two problems: Shriek’s feet and the spikes that travel across the floor afterward. Getting away from the initial impact does not finish the dodge.
A good approach is to handle those threats in sequence. Dash out from beneath her legs, then prepare to jump the traveling spikes. Keep watching the ground after you have cleared Shriek herself.
This distinction also helps prevent premature attacks. A good approach is to finish dodging the traveling spikes before looking for a head-attack opening.
Use the body slam as a clear opening
When Shriek flies away before a body slam, look at the floor. The rising gust identifies where she is about to land.
Move away from that location before committing to offense. Once she lands, aim your attacks at her head. IGN identifies this landing as a particularly useful opportunity to deal damage.
A good approach is to let the warning determine your movement rather than guessing where she will come down. Position first, then attack.
Be deliberate about the screech
Shriek’s screech creates another head-attack opportunity, but it comes with a health tradeoff. IGN suggests taking the hit and continuing to attack if you have enough life.
Treat that as a conditional tactic. When your remaining health is low, a good approach is to preserve it instead of forcing extra damage during the screech.
For her downward projectiles, the guide describes Bash as a way to send them back toward her head. If the angle looks difficult, dodging until the attack ends is also a documented option.
Survive the Escape Between Phases
After you remove enough of Shriek’s health, the encounter shifts into an escape sequence. The key direction is right.
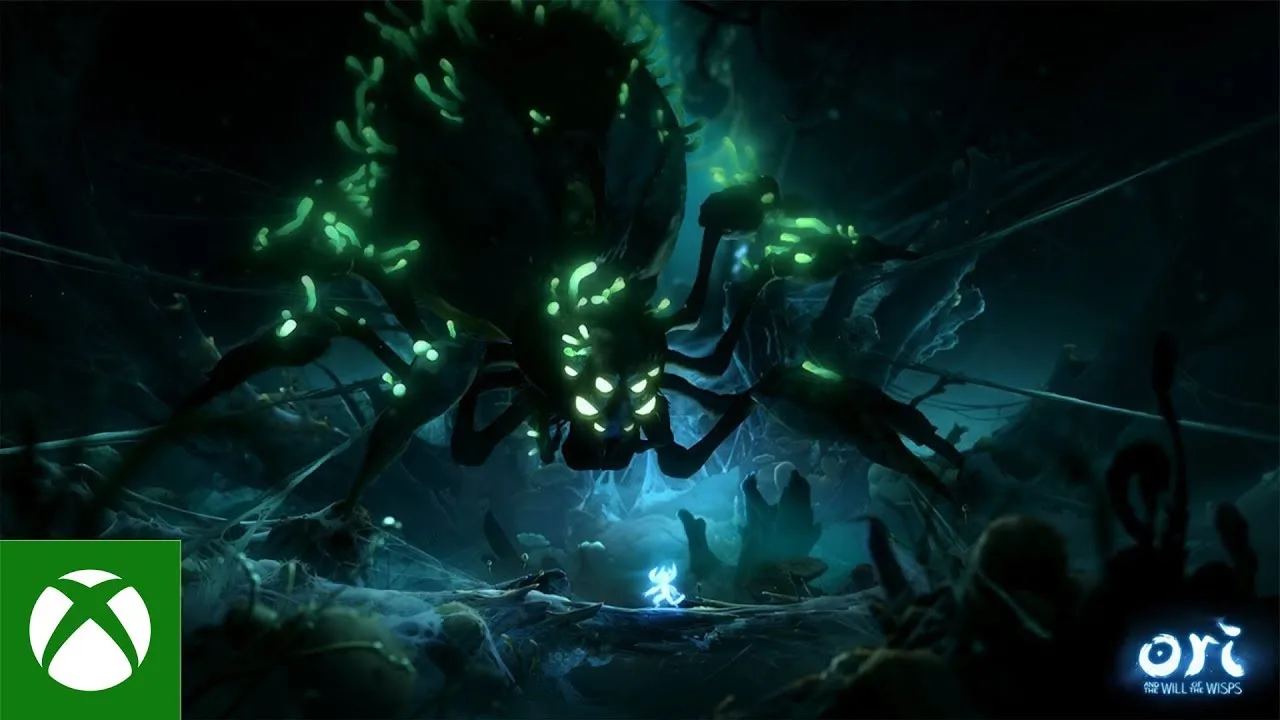 Image: YouTube / XBOX
This transition in the Ori and the Will of the Wisps final boss requires a different mindset from the opening arena. Your immediate task is to move through the route using jumps, Launch, and Burrow.
The reference guide describes running right, jumping and launching rightward, and burrowing through sand along the way. It does not provide an exact health threshold for the transition, so watch for the escape itself rather than expecting a particular percentage.
A good approach is to prepare for this change before it arrives. Once the chase begins:
- Continue moving to the right.
- Be ready to jump and Launch along the route.
- Watch for sand sections that require Burrow.
- Keep your attention on the path ahead.
The sand deserves particular attention because it requires a specific traversal action. Recognizing it early gives you a clearer movement plan than reaching it while still thinking about the previous combat exchange.
Avoid carrying an attack-focused mindset into this section. The route is now the immediate challenge, and forward movement is what the walkthrough calls for. Once the escape ends, prepare to read familiar attacks under more demanding conditions.
Phase Two: Handle Tracking Shots, the Laser, and Faster Dashes
Phase two of the Ori and the Will of the Wisps final boss retains the opening attacks and adds new threats. Your earlier practice still matters, but Shriek now asks you to respond to more projectiles, a sweeping laser, and faster flying passes.
 Image: YouTube / MKIceAndFire
The ground also begins to crumble during this phase. That environmental change is your warning that the final section will require a different way to stay airborne.
| Phase-two threat | What the guide describes | Suggested response |
|---|---|---|
| Expanded projectile attack | More purple and blue projectiles appear | Dodge the barrage and watch the purple shots closely |
| Tracking purple shots | Purple projectiles follow Ori | Bash them toward Shriek when you have a workable angle |
| Sweeping laser | The attack travels from one side toward the other | Run away from the beam toward the opposite side |
| Faster aerial dash | Gusts appear in the air before the pass | Launch upward and toward either side |
| Faster ground-level dash | The warning gust appears near the ground | Launch directly upward |
Watch behavior within the projectile barrage
The expanded projectile attack adds volume, but the purple shots introduce the more specific concern: they track you.
A good approach is to identify those shots instead of treating the entire barrage as a uniform hazard. IGN recommends bashing the tracking projectiles back toward Shriek when possible.
That creates a useful decision point. If a shot offers a manageable Bash opportunity, use it. If the surrounding barrage makes the attempt awkward, focus on avoiding damage and finding another opening.
The source identifies tracking behavior for the purple projectiles. It does not describe the blue shots as tracking, so avoid assuming they behave identically.
Move away from the laser
Shriek’s laser starts on one side and sweeps toward the other. The guide’s response is to run away from it; the sweep stops as you approach the far side.
A good approach is to begin moving when you recognize the beam’s direction. A good approach is to keep moving away from the beam until you approach the other side.
Match your Launch to the dash warning
Shriek’s flying dash is faster here, making the gust’s position especially useful.
An airborne warning calls for launching upward and toward the left or right. A warning along the ground calls for a straight upward Launch.
As the arena crumbles, keep noticing where these warnings appear. The transition into phase three can be subtle, so the shrinking floor is a practical signal to prepare for sustained aerial movement.
Phase Three: Keep Bash Going After the Floor Disappears
The defining challenge of the Ori and the Will of the Wisps final boss arrives when there is no ground left. Projectiles continue falling from above, and Bash becomes the means of keeping Ori airborne.
Those projectiles serve two purposes. They provide targets for your next Bash, and they can be redirected toward Shriek to deal damage.
A good approach is to make continued movement your priority. Before committing to a direct head attack, look for the projectile that can support your next aerial move.
| Situation | Mechanic to remember | Suggested adjustment |
|---|---|---|
| You are losing height | Falling projectiles provide Bash targets | Find a reachable projectile and use Bash to stay airborne |
| You are far from Shriek | Projectiles can be redirected toward her | Use available shots to contribute damage |
| You reach her head | Direct attacks remain an option | Attack when your position allows you to continue moving |
| You are focused only on damage | There is no floor beneath Ori | Check your next Bash opportunity before extending an attack |
Build your movement around the next projectile
The final phase changes what counts as a useful opening. On solid ground, you could dodge and then attack from a stable position. Here, each offensive move must fit into your aerial movement.
A good approach is to look ahead instead of watching only Shriek’s health. After one Bash, identify another falling projectile you can reach.
You do not need to turn every nearby shot into an ideal attack. A projectile that keeps you airborne still helps sustain the sequence described in the walkthrough.
Add damage without losing your movement plan
Bash projectiles toward Shriek when the opportunity allows it. If you get close enough to her head, direct attacks can supplement that damage.
A good approach is to keep those attacks brief enough that you can still react to the next projectile. The source supports both redirected shots and direct head attacks; it does not establish a required weapon, shard setup, or damage combination.
The encounter ends when Shriek’s remaining health is depleted. The final cutscenes follow.
For the Ori and the Will of the Wisps final boss, the useful progression is clear: learn the gust warnings, complete the rightward escape, adapt to the expanded attacks, and maintain Bash through the airborne finish. Phase two adds attacks, while phase three removes the ground and requires continued Bash.
FAQ
Who is the Ori and the Will of the Wisps final boss?
Shriek is the final boss. IGN describes her encounter as the game’s sixth boss fight. It has three phases, including a final section where the arena floor is gone.
How do you avoid Shriek’s flying dash?
In phase one, watch for a gust entering from either side and Launch upward. In phase two, an airborne gust calls for launching upward and toward either side; a ground-level gust calls for launching straight upward.
How do you survive when Shriek destroys the ground?
Use Bash on the projectiles falling from above to keep Ori airborne. You can also redirect projectiles toward Shriek and attack her head when close enough. A good approach is to identify your next Bash target before extending an attack.
Should you take damage during Shriek’s screech?
IGN suggests attacking through the screech if you have enough life. It is a conditional damage opportunity, so consider your remaining health. A good approach when health is low is to preserve it and use other openings, such as her landing after a body slam.
Continue with
 Ori and the Will of the Wisps Kwolok fight: Water Phase TipsLearn how to survive Kwolok’s chase, read his attacks, redirect projectiles, and handle the water phase with strategies from player experience.
More in Bosses

Ori and the Will of the Wisps bosses: Combat and Escapes
Learn how to approach Ori and the Will of the Wisps bosses, recognize attack openings, handle escapes, and survive Shriek’s airborne finale.

Ori and the Will of the Wisps spider boss: Mora Fight Guide
Beat the Ori and the Will of the Wisps spider boss with a Mora guide on Normal covering attack cues, the escape sequence, healing, and darkness.

Ori and the Will of the Wisps wolf boss: Howl and Torch Tips
Learn how to escape Howl in Inkwater Marsh, dodge his claw and bite attacks, and use the burning stick to drive the wolf boss away in the torch fight.
Join the community
Official channels for news, updates and player help: