
Ori and the Will of the Wisps wolf boss: Howl and Torch Tips
Learn how to escape Howl in Inkwater Marsh, dodge his claw and bite attacks, and use the burning stick to drive the wolf boss away in the torch fight.
Jump to
Meet Howl: The Wolf Encounter in Inkwater Marsh
Howl’s entrance turns a quiet slope into a desperate escape. The Ori and the Will of the Wisps wolf boss encounter matters because surviving the chase is only the beginning—you must then stand your ground with a burning stick. To get past the Ori and the Will of the Wisps wolf boss, keep moving through the opening pursuit, dodge Howl’s attacks, and use short strings of hits to push him back.
The encounter takes place in Inkwater Marsh and has two distinct parts. During the chase, contact with Howl forces you to restart the sequence. Once Ori reaches the fire and grabs a burning stick, the encounter becomes a fight focused on striking Howl’s face and driving him backward.
The route and attack descriptions below are based on Rock Paper Shotgun’s guide to escaping and fighting Howl, a gaming media walkthrough.
| Part of the encounter | What happens | Your immediate objective |
|---|---|---|
| Opening pursuit | Howl appears behind Ori on a small slope | Move right and follow the escape route |
| Collapsing platform | Howl strikes the platform beneath Ori | Continue moving through the collapse |
| Transition at the wall | Ori is knocked toward a small fire | Follow the sequence into the burning-stick fight |
| Close-range combat | Howl claws, bites, and can leap forward | Avoid his attacks and strike his face |
| Encounter ending | Howl staggers backward and falls off the slope | Push him back far enough to finish |
A useful approach is to treat movement and attacking as separate priorities. The opening demands forward progress. The fight afterward demands more restraint: create an opening, land a brief series of hits, and react to Howl’s next movement.
How to Survive Howl’s Opening Chase
The opening of the Ori and the Will of the Wisps wolf boss encounter gives you a straightforward direction: right. Howl jumps in behind Ori, and the route leads down the slope, over a log, through a collapsing platform, and up a wall.
 Image: Steam / Moon Studios GmbH
This is the part where contact with the wolf restarts the sequence. A good approach is to focus on the terrain ahead instead of watching Howl behind you. His appearance establishes the threat; your attention is more useful on the next climb.
Follow the Escape Route
| Step | Route detail | What to do |
|---|---|---|
| Regain control | Ori is on a small slope with Howl behind | Immediately move right |
| Reach the log | The route continues beyond the slope | Keep moving and climb the log |
| Cross the platform | Howl hits it, causing it to collapse | Continue through the collapse |
| Reach the wall | The escape path requires another climb | Climb to the top |
| Approach the fire | Ori is struck and knocked toward it | Recognize this as the transition into combat |
The platform collapse can make the route look interrupted. However, the walkthrough’s instruction is to keep going. A good approach is to maintain your forward movement instead of pausing to inspect the broken platform.
The wall is another moment that can be confusing. The described sequence includes Ori getting hit after reaching the top and being knocked toward the fire. That hit belongs to the route leading into the next phase; it does not mean you needed to avoid reaching the wall.
Separate the Chase From the Fight
Do not apply the torch-fight strategy before reaching the fire. The burning stick enters the encounter at that transition, when Ori grabs it and strikes Howl.
For the chase, keep your priorities simple:
- Move right as soon as control returns.
- Follow the log and wall climbs.
- Continue when the platform collapses.
- Expect the knockback near the fire.
If you keep restarting here, review where your movement stops. Hesitating during the pursuit gives Howl a chance to make contact. A useful adjustment is to concentrate on completing the route continuously, then think about combat once the burning stick appears.
Read Howl’s Claw, Bite, and Leap Attacks
The combat portion of the Ori and the Will of the Wisps wolf boss encounter revolves around recognizing Howl’s movements. The walkthrough describes a claw slam, a bite following a roar and snarl, and a forward leap when Ori is too far away.
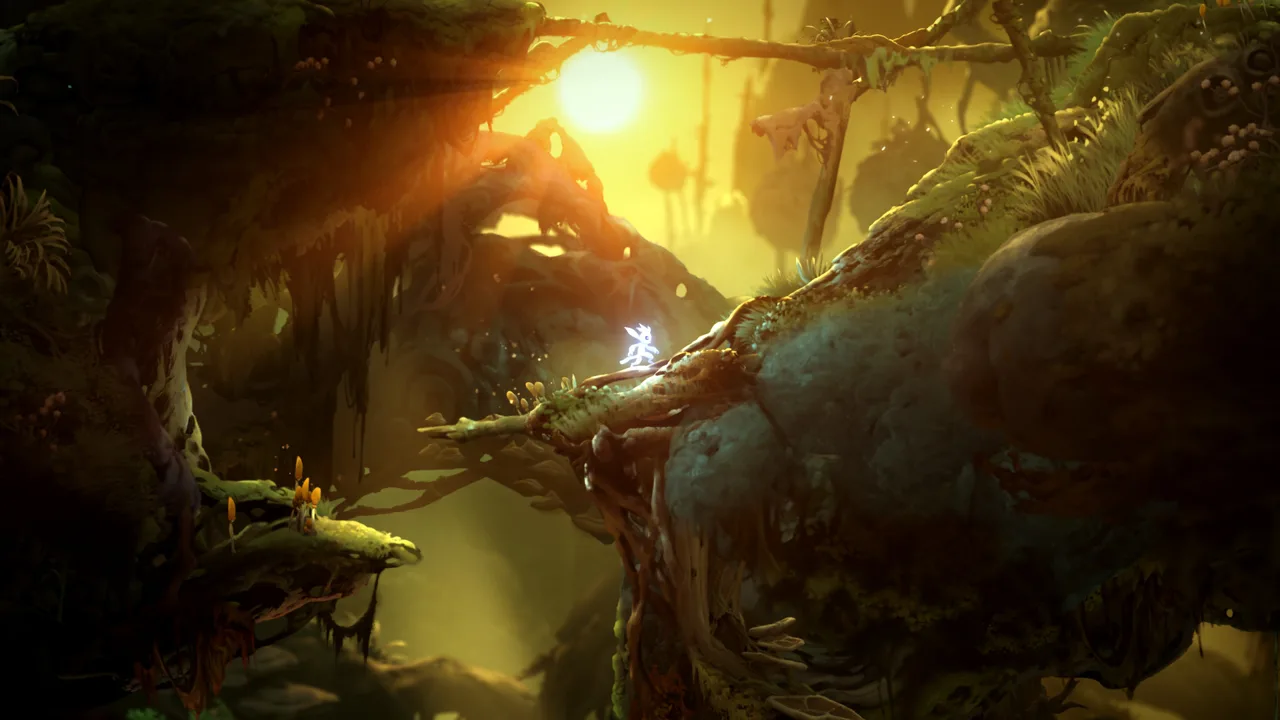 Image: Steam / Moon Studios GmbH
These attacks make spacing important. Moving right helps avoid the claw and bite, but staying far away can prompt Howl to leap toward you. A good approach is to use retreat as a response to an attack, then look for an opportunity to return to striking distance.
| Attack | Described warning or condition | Suggested response |
|---|---|---|
| Claw slam | Howl lifts his claw | Move right before the arm comes down |
| Forward bite | A roar is followed by a snarl and a step forward | Move right to avoid the bite |
| Leap toward Ori | Ori is too far away | Watch for Howl closing the distance |
Claw Slam: React to the Raised Arm
When Howl raises his claw, the walkthrough advises moving as far right as possible before the slam lands. The raised claw is therefore your cue to prioritize movement.
A good approach is to stop trying to extend your attack string when you see that motion. An additional swing is less useful than being ready to avoid the incoming strike. Once you have dealt with the slam, look at Howl’s position before approaching again.
This keeps your decisions tied to visible information: raised claw, retreat, reassess.
Bite: Watch What Follows the Roar
Howl’s bite has a described sequence: he roars, gives a small snarl, then steps forward to bite. A good approach is to watch the entire sequence rather than treating the roar alone as your opportunity to attack.
Move right as the bite approaches. After avoiding it, assess whether you can reach his face without ignoring another attack cue.
The practical lesson is to read what comes next. A dramatic roar may draw your attention, but the following snarl and forward step explain the immediate danger.
Leap: Distance Does Not End the Threat
Howl can leap toward Ori when the distance becomes too great. The source does not provide an exact distance, so there is no reliable numerical spacing rule to memorize.
Instead, a good approach is to avoid settling into permanent retreat. Create room when you need to dodge, but stay attentive to Howl’s movement. If he closes the gap, reassess your position before trying to attack.
You need opportunities to hit his face, and excessive distance makes those opportunities harder to reach while still leaving you exposed to his leap.
Use the Burning Stick to Stagger Howl
Once Ori reaches the fire, the Ori and the Will of the Wisps wolf boss encounter changes from escape to retaliation. Ori grabs a burning stick and hits Howl in the face. You then use that improvised weapon to drive him away.
 Image: Steam / Moon Studios GmbH
The walkthrough recommends hitting Howl three or four times in succession until he staggers. Treat that as a described attack pattern, not a reason to finish every string regardless of what the wolf is doing.
A good approach is to aim for a short series of connected hits while remaining ready to move right if Howl raises his claw or begins the bite sequence.
Build Your Attacks Around His Reactions
Your immediate target is Howl’s face. The purpose of repeated hits is to stagger him, creating breathing room and pushing him toward the encounter’s ending.
A practical rhythm is:
- Watch for an incoming claw or bite.
- Move right to avoid the attack.
- Approach his face when there is an opening.
- Attempt a short string of burning-stick strikes.
- Reassess when Howl staggers or starts another attack.
This is editorial advice drawn from the described mechanics, not a fixed timing script. The source does not supply exact attack intervals or animation durations. Use Howl’s visible actions to decide whether to continue swinging.
For example, if you have started a string and his claw rises, a good approach is to retreat instead of insisting on another hit. If your strikes stagger him, use that breathing room to prepare for the next exchange.
How the Encounter Ends
You do not need to interpret victory as reducing Howl’s health to nothing. The walkthrough describes the encounter ending when he has roughly half his health remaining, has been pushed far enough back, and staggers off the slope.
Both parts of that description matter: his health has been reduced, and his position allows the final stagger to send him over the edge.
For the Ori and the Will of the Wisps wolf boss, a good approach is therefore to watch Howl’s backward movement alongside his health. Repeated face hits contribute to the stagger-and-retreat pattern that ends the encounter.
The “roughly half” description is approximate. It should not be treated as a precise threshold or a promise that the fight ends immediately at a particular health value. Keep responding to Howl and landing strikes until the fall occurs.
Troubleshoot the Encounter Without Overcomplicating It
If the Ori and the Will of the Wisps wolf boss keeps stopping your progress, identify the specific action causing trouble. The chase, claw slam, bite, and leap each call for a different adjustment.
| Problem | Relevant mechanic | Adjustment to try |
|---|---|---|
| Howl catches Ori during the chase | Contact restarts the sequence | Keep moving right through the route |
| The collapse interrupts your movement | The walkthrough says to continue | Maintain forward movement toward the wall |
| The claw catches you while attacking | Howl raises his claw before slamming | Retreat when you see the raised arm |
| The bite catches you after a roar | A snarl and forward step follow | Watch the follow-up and move right |
| Retreating keeps bringing Howl closer | He can leap when you are far away | Avoid relying on distance alone |
| The fight continues after several hits | The ending involves stagger and position | Continue landing face hits and pushing him back |
Keep Each Retry Focused
A good approach is to make one adjustment at a time. If the claw slam is catching you, concentrate on recognizing the raised arm. If the bite is the problem, focus on the snarl and step that follow the roar.
Trying to change movement, attack timing, and spacing simultaneously can make it harder to tell which adjustment helped. Each attempt is more useful when you know what cue you are watching.
The Ori and the Will of the Wisps wolf boss has a clear sequence to follow: escape to the fire, avoid the visible attacks, strike the face in short strings, and keep pushing Howl backward. You can build your approach around those actions without needing an exact damage calculation or a memorized combat timer.
FAQ
What is the Ori and the Will of the Wisps wolf boss called?
The wolf is called Howl. This encounter takes place in Inkwater Marsh and combines an opening chase with a burning-stick fight.
How do you get through Howl’s chase?
Move right immediately, descend the slope, climb the log, continue through the platform collapse, and climb the wall. The described route then knocks Ori toward a small fire, where the combat portion begins.
How many times should you hit Howl with the burning stick?
Rock Paper Shotgun’s walkthrough recommends strings of three or four hits to stagger him. A good approach is to attempt those short strings while watching for his claw and bite cues, rather than forcing another strike during an incoming attack.
Do you need to empty Howl’s health bar?
The walkthrough describes Howl falling off the slope with roughly half his health remaining once he has been pushed sufficiently far back and staggered. Focus on avoiding attacks and landing repeated face hits until that ending occurs.
Continue with
 Ori and the Will of the Wisps bosses: Combat and EscapesLearn how to approach Ori and the Will of the Wisps bosses, recognize attack openings, handle escapes, and survive Shriek’s airborne finale.
More in Bosses

Ori and the Will of the Wisps final boss: Shriek Phase Guide
Beat Shriek across three phases with a phase-by-phase guide to attack cues, the escape sequence, tracking projectiles, and the final airborne battle.

Ori and the Will of the Wisps Kwolok fight: Water Phase Tips
Learn how to survive Kwolok’s chase, read his attacks, redirect projectiles, and handle the water phase with strategies from player experience.

Ori and the Will of the Wisps spider boss: Mora Fight Guide
Beat the Ori and the Will of the Wisps spider boss with a Mora guide on Normal covering attack cues, the escape sequence, healing, and darkness.
Join the community
Official channels for news, updates and player help: