
Ori and the Will of the Wisps Hand to Hand: Trading Guide
Complete Ori and the Will of the Wisps Hand to Hand with every item exchange, NPC location, progression requirement, and Stone Tablet reward.
Jump to

How to Start Hand to Hand and Plan Your Route
A small map starts a trading chain that eventually reveals secrets across your world map. The Ori and the Will of the Wisps Hand to Hand quest matters because its final reward helps you locate discoveries during exploration. This Ori and the Will of the Wisps Hand to Hand guide follows every exchange, from the Moki near the Horned Beetle room to the Stone Tablet in Windtorn Ruins.
The quest route below follows the Hold to Reset media guide supplied for this walkthrough. For the game's developer, publisher, and broader adventure details, visit the Ori and the Will of the Wisps Steam store page.
Find the Moki Near the Horned Beetle Room
Start by meeting Kwolok in Kwolok’s Hollow as part of the story. According to the guide, that meeting is necessary to access The Wellspring.
Afterward, return to the room where you fought the Horned Beetle. A Moki opens a previously closed door when you enter. Use Bash and Dash to reach the room above the boss arena, then speak to the Moki.
The Moki gives you a map and asks you to find someone with feathers. That recipient is Tokk, and receiving the map begins the trading quest.
Expect the Quest to Span Your Adventure
Hand to Hand sends you through several regions rather than keeping you near its starting point. The media guide describes it as a lengthy quest that takes roughly the entire game to complete, with the last step tied to late story progress.
A good approach is to track your current item and its recipient while exploring. Trying to follow the entire chain immediately can leave you heading toward a location you cannot yet reach.
Keep these distinctions in mind:
- The starting Moki gives you the map; Tokk receives it.
- Each exchange supplies the item needed for the next recipient.
- Showing Lupo the Stone Tablet does not finish the quest.
- The final reward comes from placing the tablet in Windtorn Ruins.
Early Trades: Treasure Map, Wanderer’s Pouch, and Herbs
The early portion of Ori and the Will of the Wisps Hand to Hand moves between Wellspring Glades and The Wellspring. It introduces the quest’s pattern: identify what an NPC needs, deliver your current item, and follow the clue attached to the replacement.
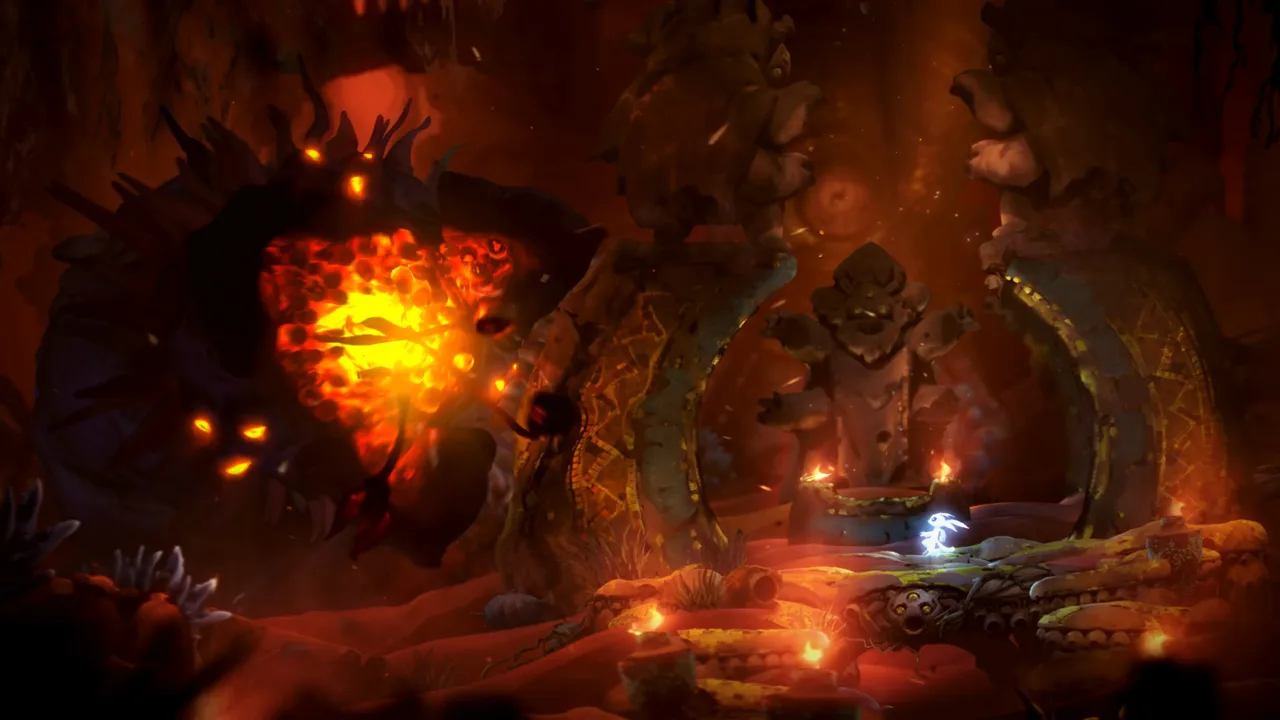 Image: Steam / Moon Studios GmbH
| Item to deliver | Recipient | Location | Item received |
|---|---|---|---|
| Treasure Map | Tokk | Wellspring Glades | Wanderer’s Pouch |
| Wanderer’s Pouch | A Moki adventurer | Inside the Mill in The Wellspring | Herb Pouch |
| Herb Pouch | Veral | Northeast Wellspring Glades, near Baur’s Reach | Spicy Marshclam Soup |
Give the Treasure Map to Tokk
Take the map to Tokk in Wellspring Glades. The starting clue describes a feathered wanderer, which points you toward him.
Tokk gives you the Wanderer’s Pouch in exchange. Your next recipient is a small adventurer, so the next stop is a Moki rather than another named merchant.
A useful way to remember this handoff is to pair the clue with the name: feathers means Tokk; small adventurer means the Moki inside the Mill.
Deliver the Wanderer’s Pouch Inside the Mill
Travel to The Wellspring and find the Moki inside the Mill. Give this Moki the Wanderer’s Pouch to receive the Herb Pouch.
The reference guide uses both “Wanderer’s Pouch” and “Wanderer’s Bag” for this exchange. Those labels describe the same handoff in its walkthrough, so they do not indicate separate recipients or an extra trading step.
The collected text does not describe the exact Mill doorway in words; that detail appears in the original guide’s map image. Use the supported landmark—the Mill interior—to narrow your search.
Bring the Herbs to Veral
Veral runs a soup shop in the northeast corner of Wellspring Glades, at the edge of Baur’s Reach. Give him the Herb Pouch, and he provides Spicy Marshclam Soup.
The guide specifies Hookshot and double jump for reaching Veral. If this stop is currently inaccessible, a good approach is to continue exploring until you have the abilities identified for the route.
The soup’s purpose supplies your next clue: find a chilly Moki who needs warming up.
Middle Trades: Soup, Fashionable Hat, and Lantern
The middle stretch of Ori and the Will of the Wisps Hand to Hand takes you into Baur’s Reach, back to Wellspring Glades, and then into the depths. The soup delivery has an explicit ability requirement, making it a useful checkpoint when planning your route.
 Image: Steam / Moon Studios GmbH
| Item to deliver | Recipient | Location or landmark | Item received |
|---|---|---|---|
| Spicy Marshclam Soup | A chilly Moki | Baur’s Reach, beside a fire | Fashionable Hat |
| Fashionable Hat | A Moki in the shade | Western Wellspring Glades, past the NPC merchant | Grom’s Lantern |
| Grom’s Lantern | A Moki seeking fireflies | Southwest Moulwood Depths | Silk String |
Reach the Chilly Moki in Baur’s Reach
The soup recipient is a Moki beside a fire in Baur’s Reach.
The route described in the media guide requires Light Burst. After obtaining it, use the ability to light the candle that opens the upward airflow. Ride that airflow to reach the Moki.
Give the Moki the Spicy Marshclam Soup to receive the Fashionable Hat.
This is a point where quest directions and traversal progress overlap. A good approach is to check whether you have Light Burst before returning specifically for this exchange. The item tells you whom to help, but the ability makes the described route accessible.
Trade the Fashionable Hat in Wellspring Glades
Return to Wellspring Glades and head west. Continue past the NPC merchant, then speak to the Moki standing in the shade beside him.
That Moki accepts the Fashionable Hat and gives you Grom’s Lantern.
Because several exchanges involve unnamed Moki, location is the useful identifier here. Look for the combination of western Glades, the merchant, and the nearby shade rather than treating any Moki in the settlement as the recipient.
Exchange the Lantern for Silk String
Take the lantern to the southwest part of Moulwood Depths. The Moki there wants to catch fireflies but needs something to hold them.
Give the lantern to this Moki and receive Silk String.
The reference guide calls the item “Grom’s Lantern” when you receive it and “Empty Lantern” when explaining why it suits the firefly collector. In the described route, this is the lantern obtained from the hat exchange. It is not an instruction to locate an additional container.
Later Trades: Silk String, Old Spyglass, and Canteen
The next section of Ori and the Will of the Wisps Hand to Hand connects Luma Pools, Wellspring Glades, and Windswept Wastes. The landmarks become especially useful here: a fishing spot above a portal, Motay’s bush, and a thirsty miner.
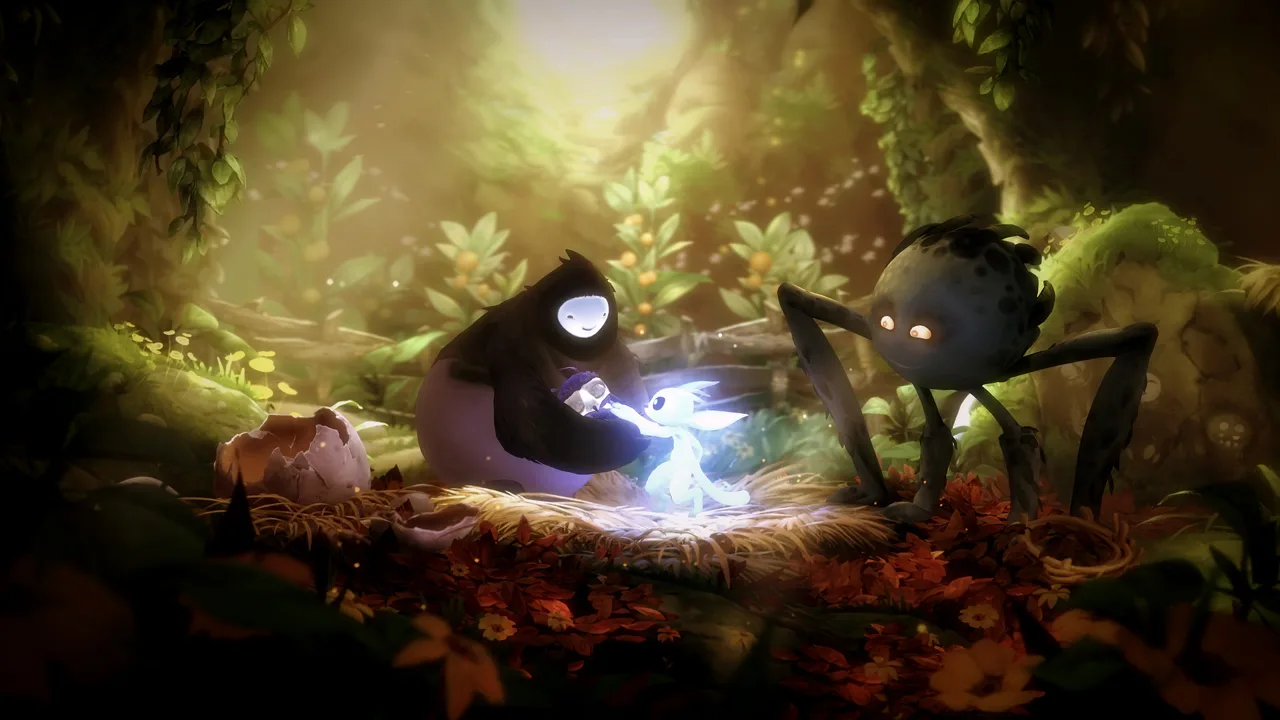 Image: Steam / Moon Studios GmbH
| Item to deliver | Recipient | Location or landmark | Item received |
|---|---|---|---|
| Silk String | A fishing Moki | Luma Pools, above the first warp portal | Old Spyglass |
| Old Spyglass | Motay | Wellspring Glades, in his bush | Canteen |
| Canteen | Gorlek Miner | Windswept Wastes | Stone Tablet |
Find the Fishing Moki in Luma Pools
Travel to Luma Pools and look for the Moki fishing above the first warp portal.
Give this Moki the Silk String. In return, you receive the Old Spyglass.
The fishing activity distinguishes this recipient from the other Moki in the chain. A good approach is to use the portal as your landmark, then look above it for the fishing Moki rather than searching the region without a reference point.
Bring the Old Spyglass to Motay
Return to Wellspring Glades and speak to Motay, the stats keeper found in his bush.
Motay takes the Old Spyglass and gives you a Canteen filled with water. This directs the trading chain toward someone thirsty.
Do not confuse this visit with the later return to Lupo. Both recipients are in Wellspring Glades, but Motay handles the spyglass exchange, while Lupo helps interpret the Stone Tablet.
Give the Canteen to the Gorlek Miner
Take the Canteen to the Gorlek Miner in Windswept Wastes. Give him the water, and he rewards you with the Stone Tablet.
This exchange ends the sequence of receiving ordinary trade items. The remaining steps concern identifying the tablet’s destination and placing it at the map in Windtorn Ruins.
If you are tracking the quest manually, a useful note at this point is: “Stone Tablet → Lupo → Windtorn Ruins.” That keeps the consultation and final placement separate.
Finish the Stone Tablet Route and Reveal Map Secrets
The final part of Ori and the Will of the Wisps Hand to Hand involves both a visit to Lupo and a later interaction in Windtorn Ruins. Receiving the tablet is progress toward the reward, but it is not the completion trigger.
| Stage | Where to go | Required action | Result |
|---|---|---|---|
| Consult Lupo | Lupo’s house in Wellspring Glades | Show him the Stone Tablet | A rumor highlights Windtorn Ruins |
| Advance the story | Windtorn Ruins | Complete the sequence leading to “The Will of the Wisps: Return Seir to the Spirit Willow” | The guide places the final exploration step after this point |
| Activate the map | Bottom western corner of Windtorn Ruins | Place the Stone Tablet at the map | Map secrets are highlighted and Hand to Hand ends |
Show the Tablet to Lupo
Visit Lupo’s house in Wellspring Glades and show him the Stone Tablet.
This triggers a rumor that highlights Windtorn Ruins in Windswept Wastes. Lupo provides the lead you need, but the tablet still has a final purpose at the ruins.
A good approach is to treat this conversation as a destination clue. After speaking with Lupo, focus on the ruins rather than looking for another NPC trade.
Place the Tablet at the Windtorn Ruins Map
The media guide places the final interaction after the Windtorn Ruins story sequence leading into “The Will of the Wisps: Return Seir to the Spirit Willow.”
Once you reach that point, explore the bottom western corner of Windtorn Ruins. Find the map and place the Stone Tablet there.
Activating that map highlights all secrets on your map and completes Hand to Hand. The reward reveals locations; completing any exploration associated with those markers remains a separate activity.
For Ori and the Will of the Wisps Hand to Hand, the key final distinction is simple: Lupo points you toward the destination, while placing the tablet delivers the reward.
FAQ
Where does Ori and the Will of the Wisps Hand to Hand start?
It starts with the Moki in the room above the Horned Beetle arena in Kwolok’s Hollow. Meet Kwolok first, return to the boss room, and use Bash and Dash to reach the Moki after the door opens. Receiving the map begins the quest.
Who receives the Spicy Marshclam Soup?
Give it to the chilly Moki beside a fire in Baur’s Reach. The guide describes reaching this Moki after obtaining Light Burst, lighting the candle that opens upward airflow, and riding that airflow. The Moki gives you the Fashionable Hat.
Does showing the Stone Tablet to Lupo finish the quest?
No. Showing Lupo the tablet triggers a rumor highlighting Windtorn Ruins. You must later place the tablet at the map in the bottom western corner of the ruins, after the story sequence described in the guide.
What is the Hand to Hand reward?
Completing the quest highlights all secrets on your map. The reward activates when you place the Stone Tablet at the Windtorn Ruins map, making the trading chain useful for locating remaining discoveries.
Continue with
 Ori and the Will of the Wisps Into the Burrows: Puzzle GuideSolve Into the Burrows with both bell sequences, decode Tokk’s stone clues, and learn how to reach the optional damage reward in Midnight Burrows.
More in Quests

Ori and the Will of the Wisps Diamond in the Rough: Quest
Complete A Diamond in the Rough: find the Eerie Gem with Burrow, visit Tokk, and bring it to Twillen for the Secret Spirit Shard as the quest reward.

Ori and the Will of the Wisps The Lost Compass: Quest Guide
Find Tok's Iron Needle, navigate the Watermill's final wheel, and finish The Lost Compass quest to earn Gorlek Ore with guidance from a player video.
Join the community
Official channels for news, updates and player help: